Parts
You will need to have an MR2 turbo gearbox (e153), obviously, and the following parts from a front-engined E series box. I used the parts from my E150F ST185 GT-Four box, but bits from an E series out of a Supercharged Levin/Trueno should also work.
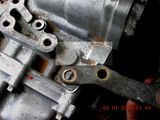
You will need these two bits, they are the shifter arm and the cable bracket(click to enlarge):
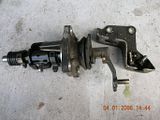
This is where you'll find them on the box:
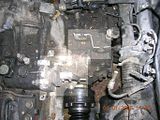
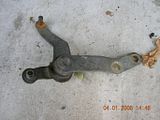
You will also need this shifter lever, which normally attaches in the bottom left of the above picture:
Step 1
Remove the parts above from the GT-Four or SC Levin/Trueno gearbox. To remove the shifter arm you need to remove the 4 (14mm?) bolts around the mounting flange, and the large 24mm bolt on top that looks like a drain bung
Step 2
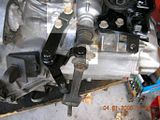
From the MR2 gearbox, undo the 2 bolts and 1 nut highlighted in the picture below, then push the stud that the nut was on, out (this will probably be difficult to remove, but it must be done)
Step 3
Having removed the stud from the end of the shifter arm, you should be able to remove the shifter arm(that is the bit you can see in the above picture). It may be quite difficult to get off, if you don't care about keeping it you could just cut it off I suppose.
Step 4
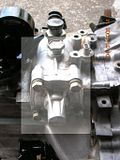
From the MR2 box, remove the 4 (14mm?) bolts around the blanking plate on the other side, and the large 24mm bolt on top that looks like a drain bung
Step 5
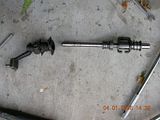
Remove the shifter shaft. That is the part on the right in the following picture, on the left is the shifter arm you removed in step 3.
Step 6
Install the new shifter arm assembly and shifter cable mounting bracket
Step 7
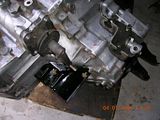
This is the most difficult part of the whole thing, you will need to drill and tap two holes into the blank bosses near the mount on the MR2 gearbox for the shifter lever, as shown:
